记glibc-all-in-one使用
glibc-all-in-one
glibc-all-in-one下载
1 | sudo git clone https://github.com/matrix1001/glibc-all-in-one.git |
glibc-all-in-one安装
1 | sudo python3 update_list |
下载glibc
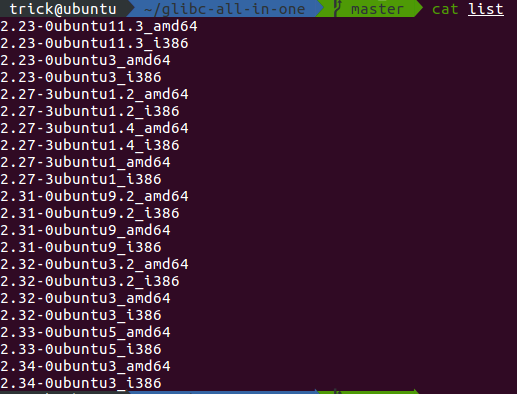
list

1 | sudo ./download 2.31-0ubuntu9_amd64 |
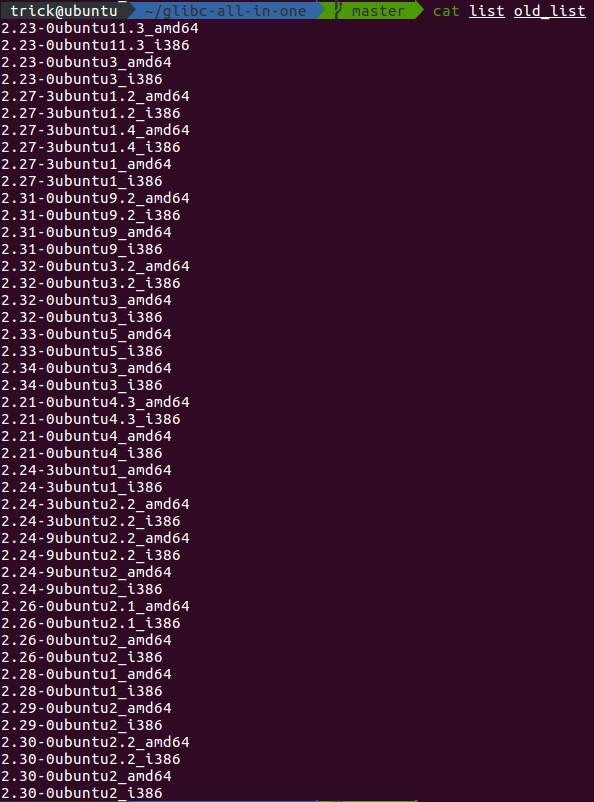
old_list
和上面差不多

1 | sudo ./download_old 2.23-0ubuntu11.3_amd64 |
patchelf
patchelf下载
1 | git clone https://github.com/NixOS/patchelf.git |
patchelf安装
这里我的ubuntu16没有报错,挺顺利
1 | ./bootstrap.sh //如果报错 ./bootstrap.sh: 2: autoreconf: not found |
实际应用
1 | ~/glibc-all-in-one$ sudo ./download 2.27-3ubuntu1_amd64 |
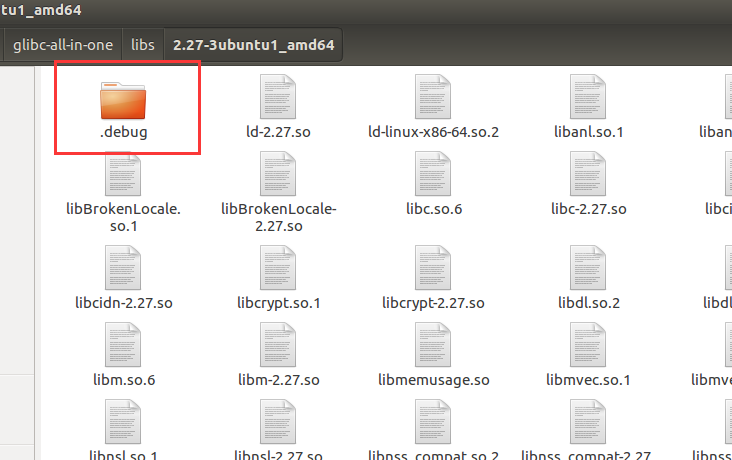
打开隐藏文件
Ctrl + h
可以先在这个目录下 pwd一下


解压下载的deb包到.debug中
1 | ~/glibc-all-in-one/debs$ sudo dpkg -X [libc6_2.27-3ubuntu1_amd64.deb] /home/trick/glibc-all-in-one/libs/[2.27-3ubuntu1_amd64]/.debug |
然后利用patchelf工具修改elf程序所需的动态链接库
1 | patchelf --set-interpreter /home/trick/glibc-all-in-one/libs/[2.27-3ubuntu1_amd64]/[ld-2.27.so] ./ciscn_final_3 |
glibc2.34
1 | patchelf --set-interpreter /home/trick/tools/glibc-2.34/glibc-2.34/64/lib/ld-linux-x86-64.so.2 ./pwn |
本博客所有文章除特别声明外,均采用 CC BY-NC-SA 4.0 许可协议。转载请注明来自 Trick's Blog!
评论
